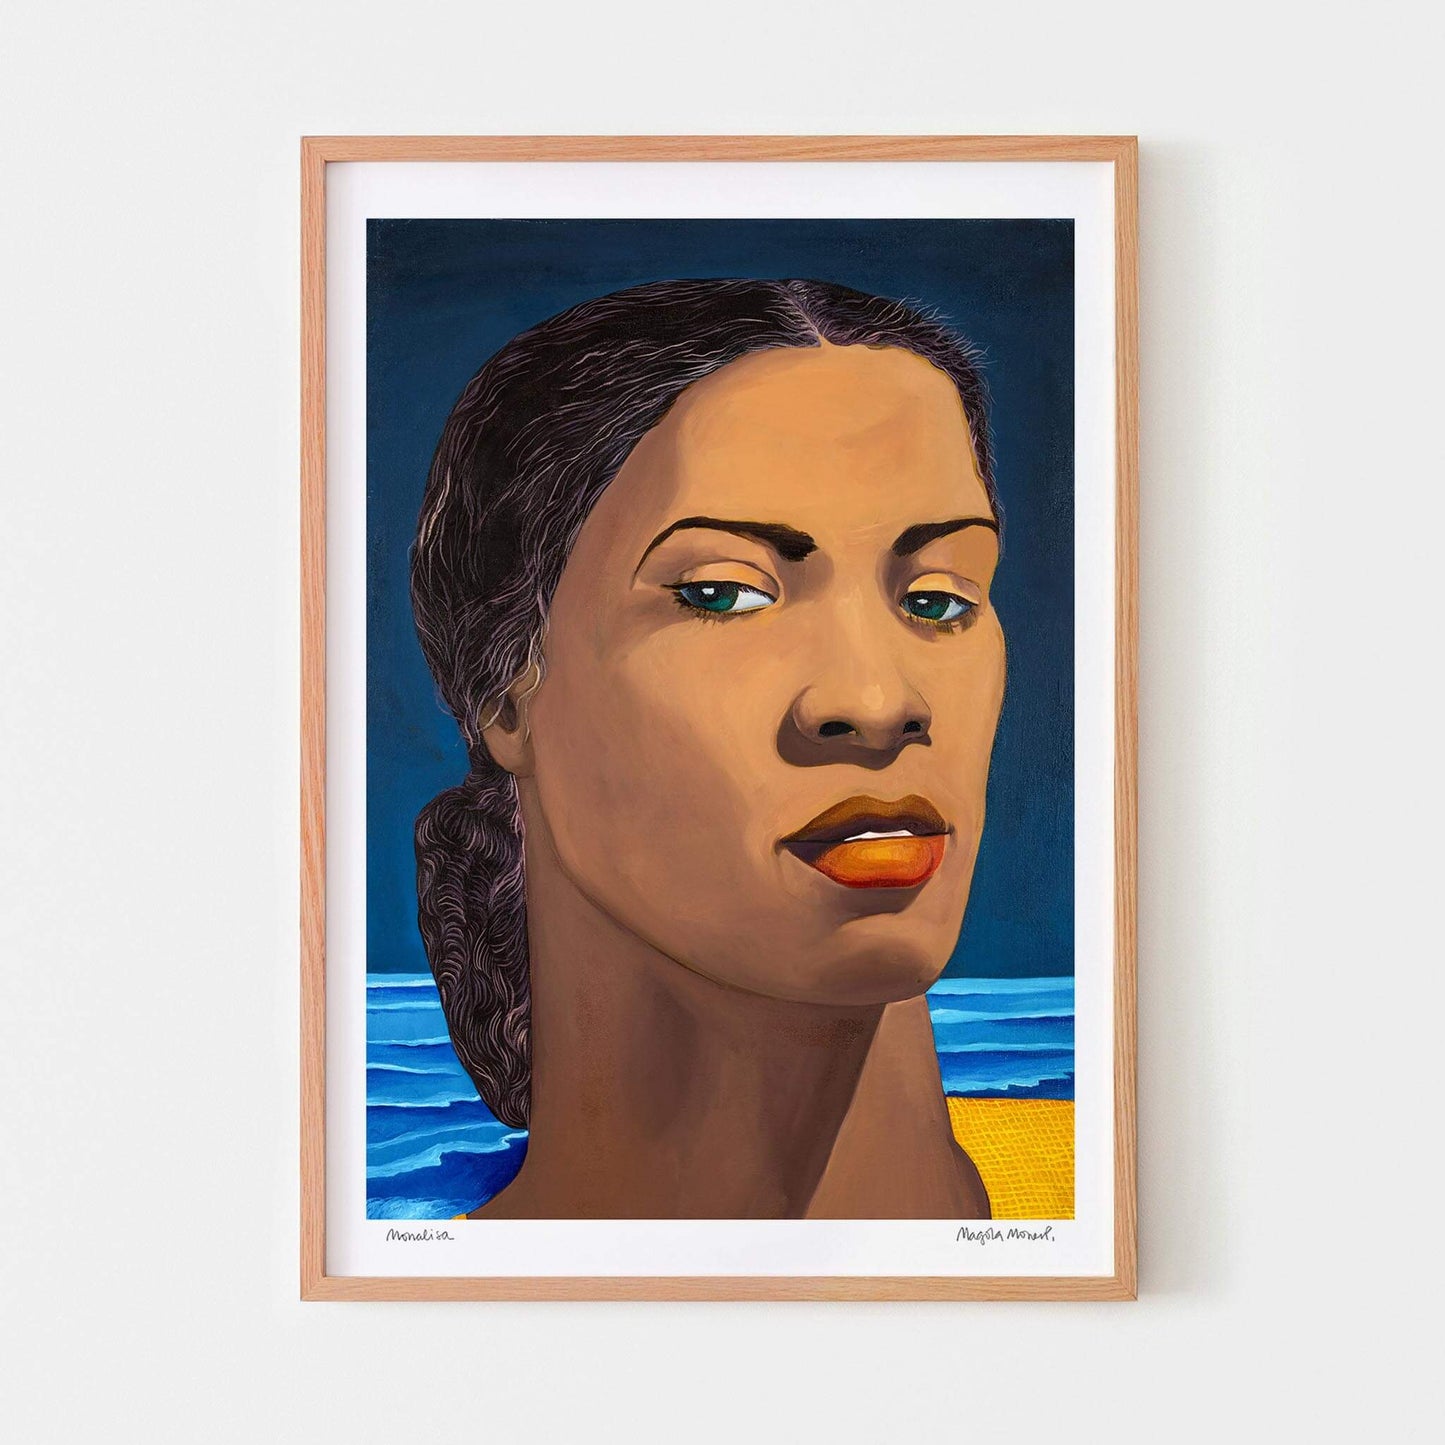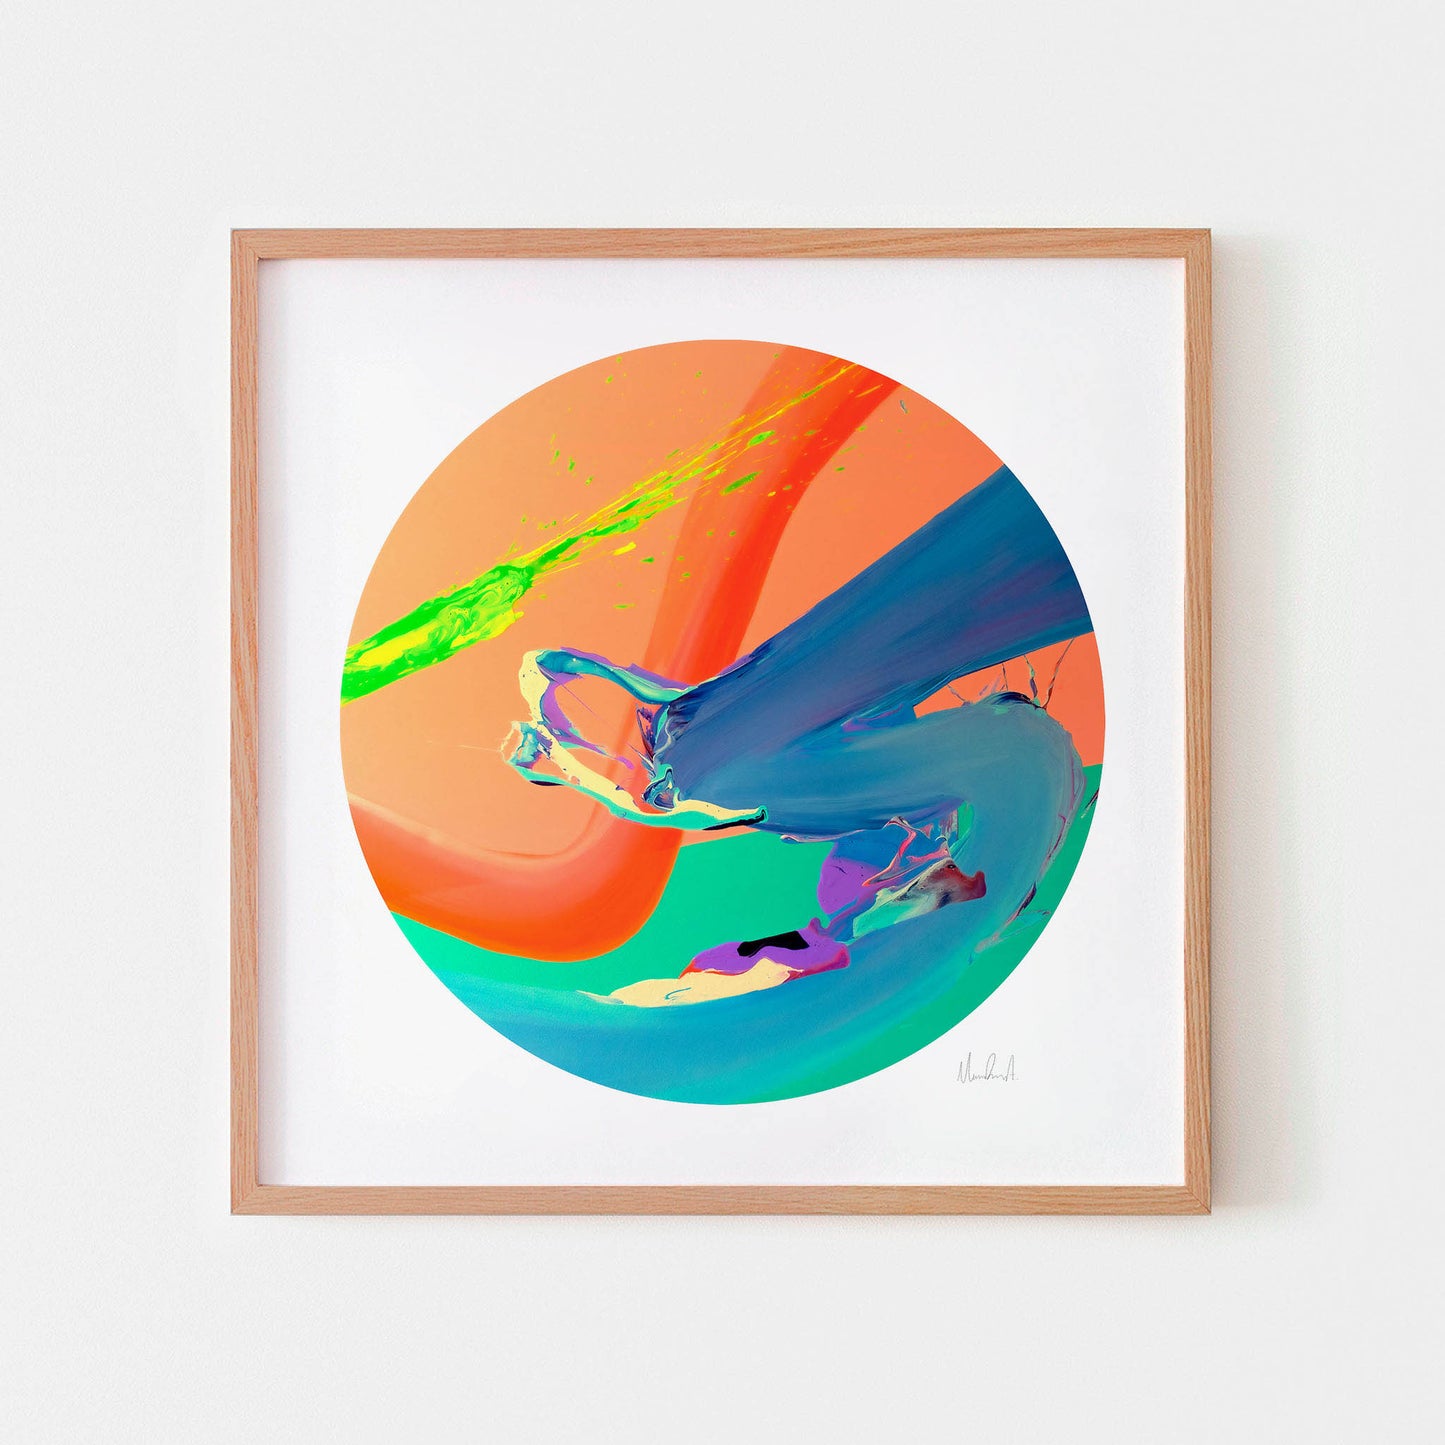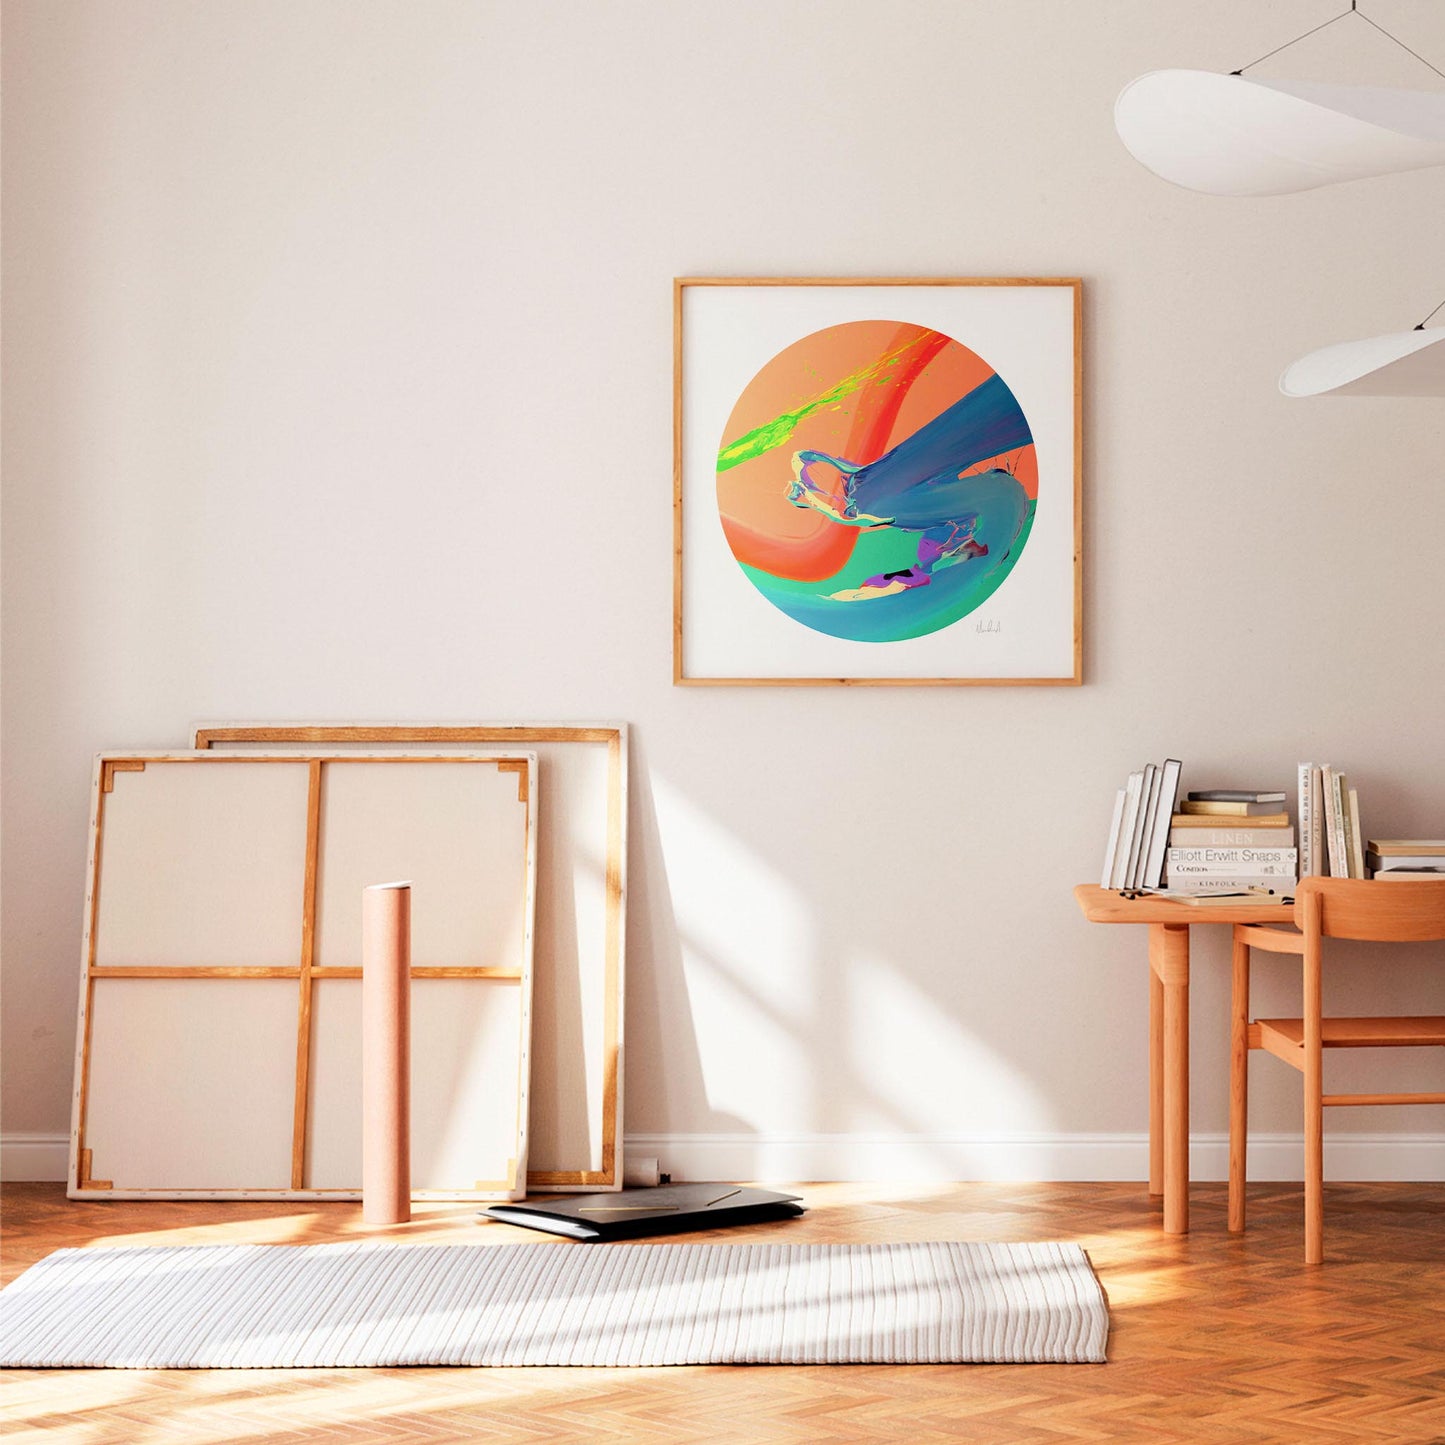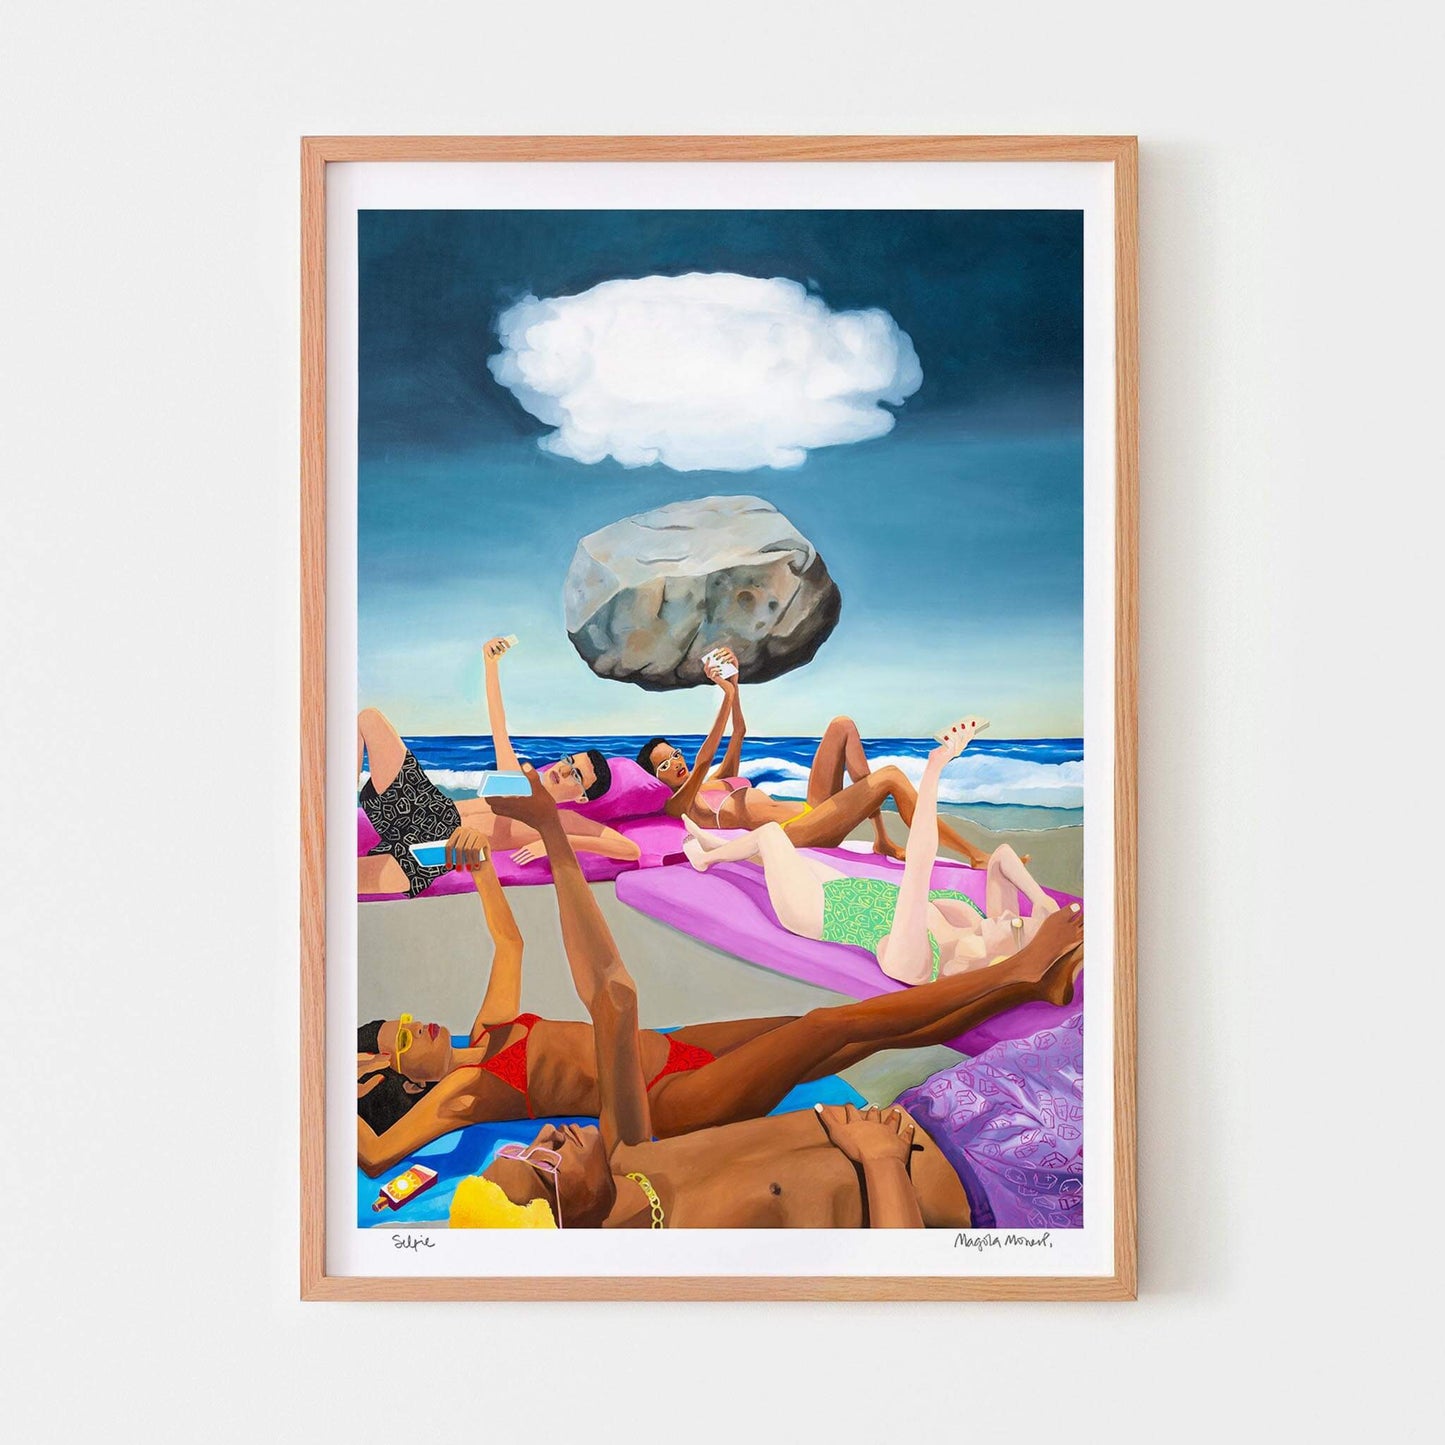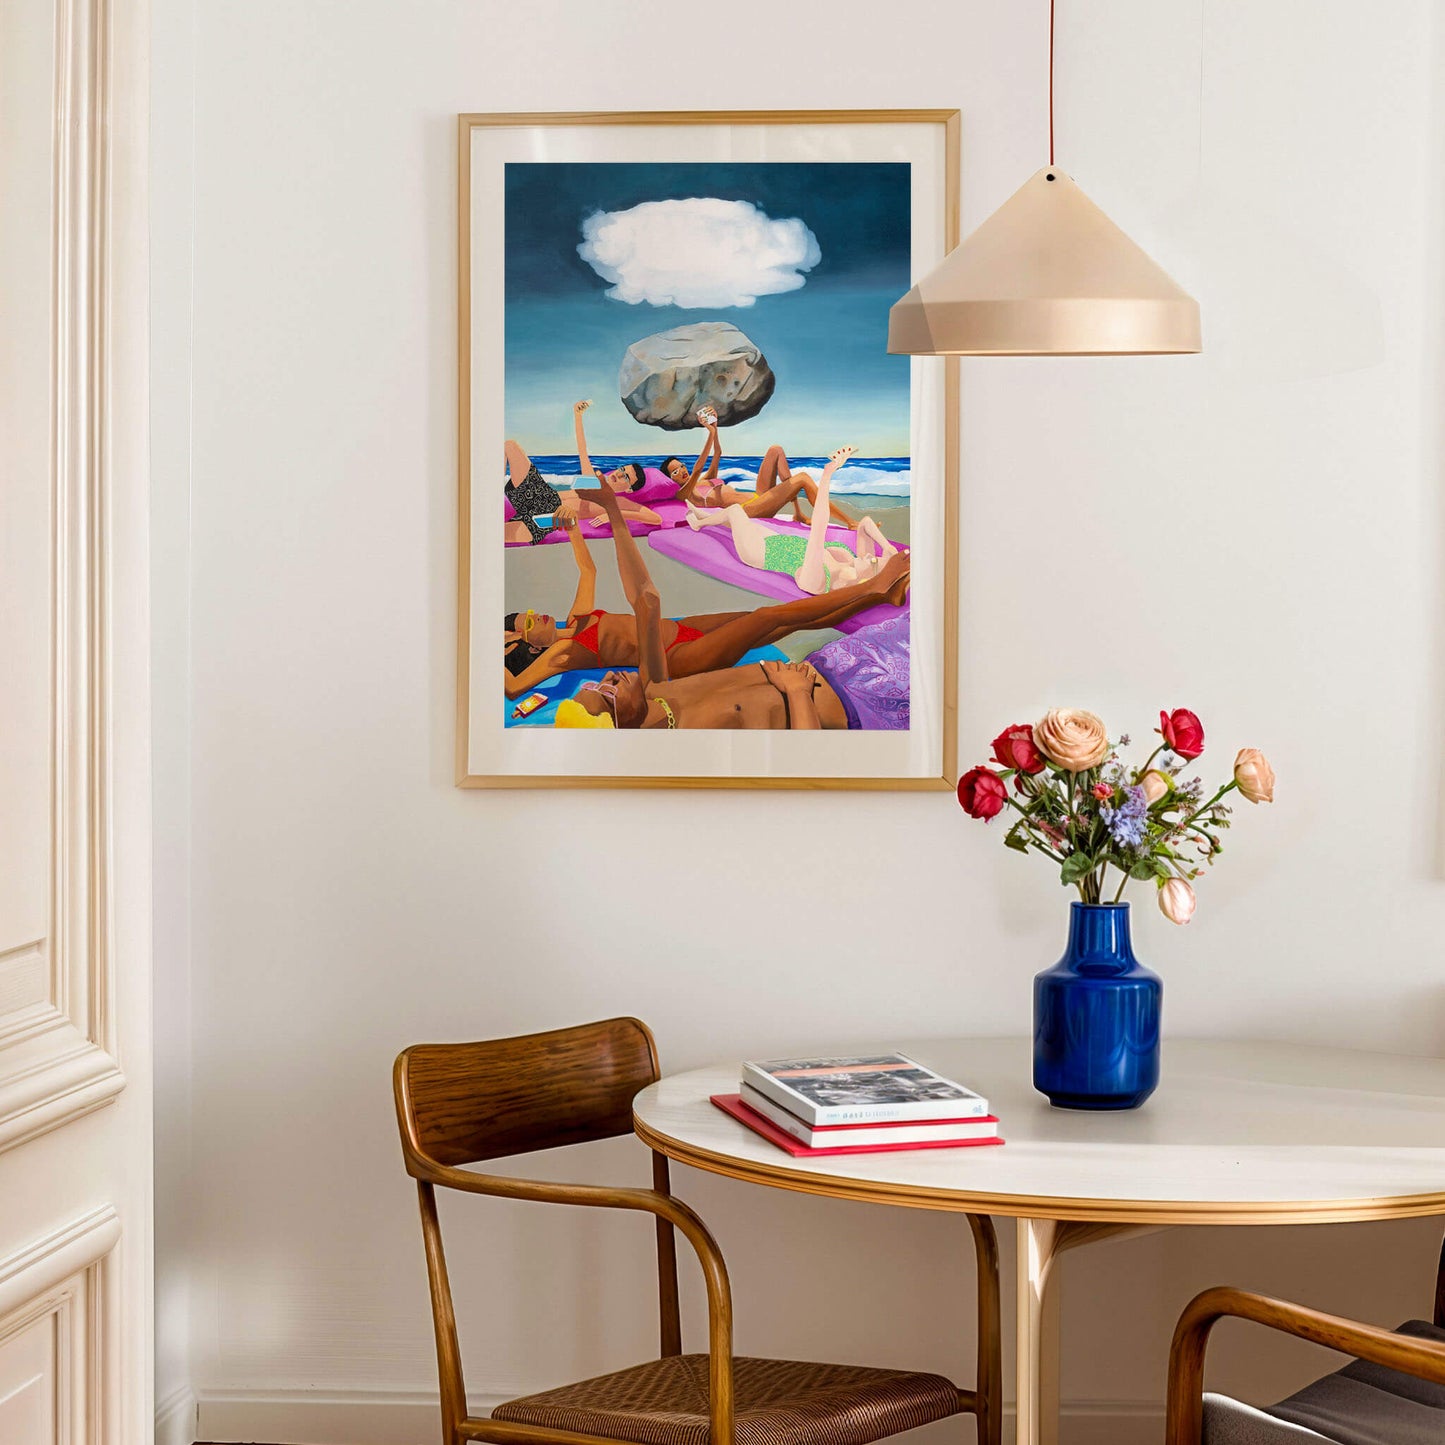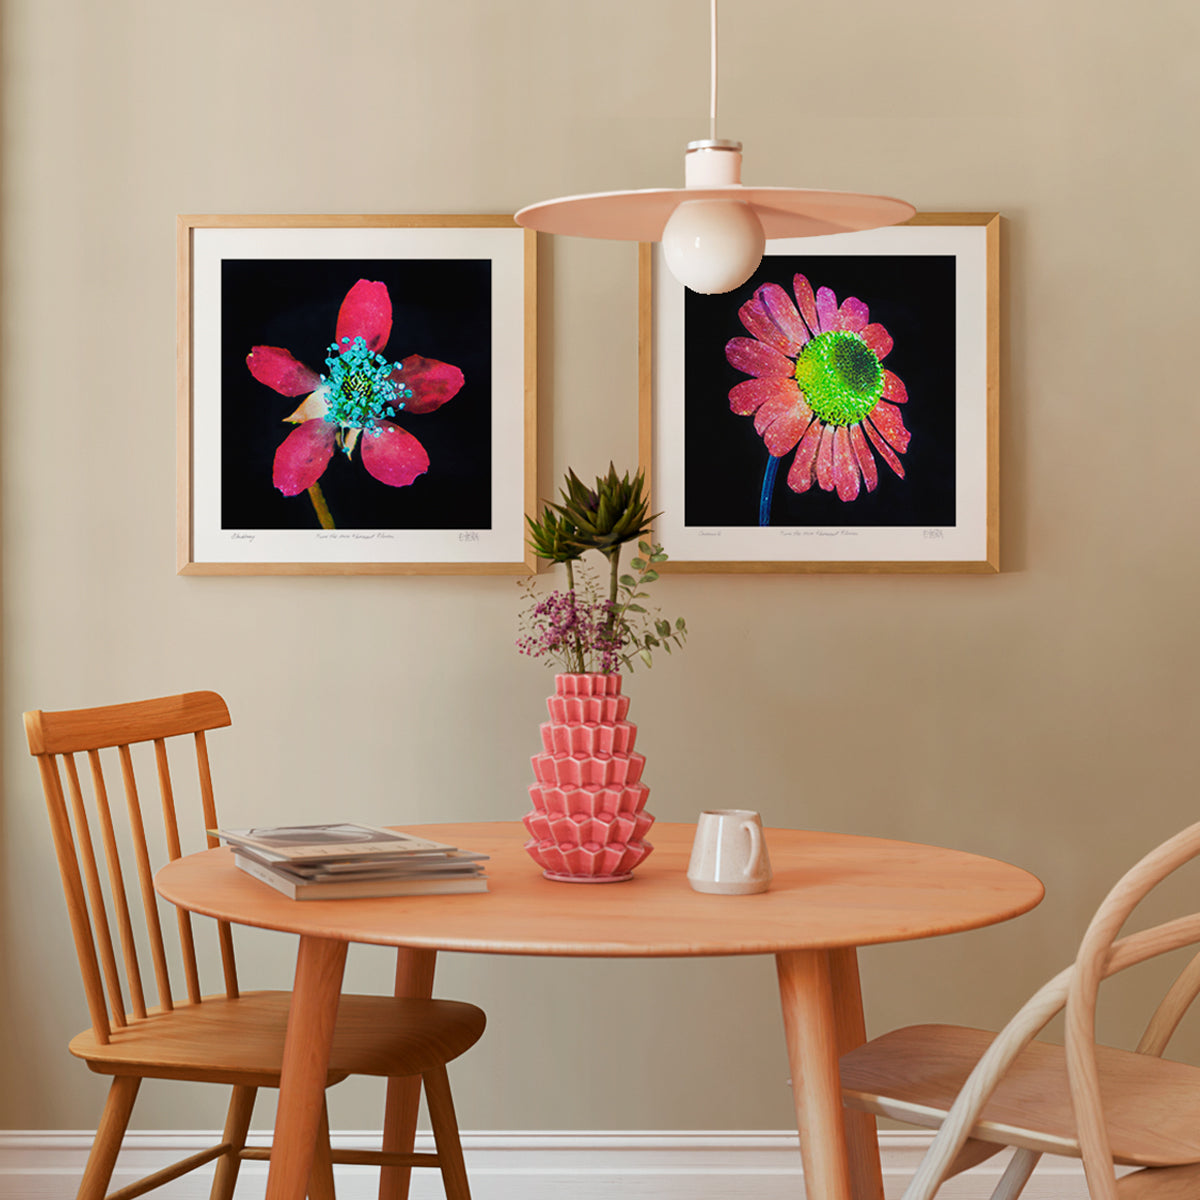
You have finally bought a beautiful piece of art for the home, but it’s still sitting on your floor, propped forlornly against a wall. You’ve been putting it off, but there’s really no denying it. It’s time to learn how to hang a picture!
What’s great about learning how to hang art, is that the rules are fundamentally the same for whatever you want to display, be it a gallery wall or a large statement artwork that packs a punch in a minimalist interior.
So, no matter what type of art you prefer, whether it’s vintage paintings from a flea market or a mid-century artwork, abstract wall art or the latest contemporary art prints, in this article we provide you with a guide for the best way to put pictures on your wall. We’ll begin by explaining how to arrange pictures and what factors to take into account when doing so, before looking at the technicalities of how to hang art on different types of wall.
How high should you hang a picture?
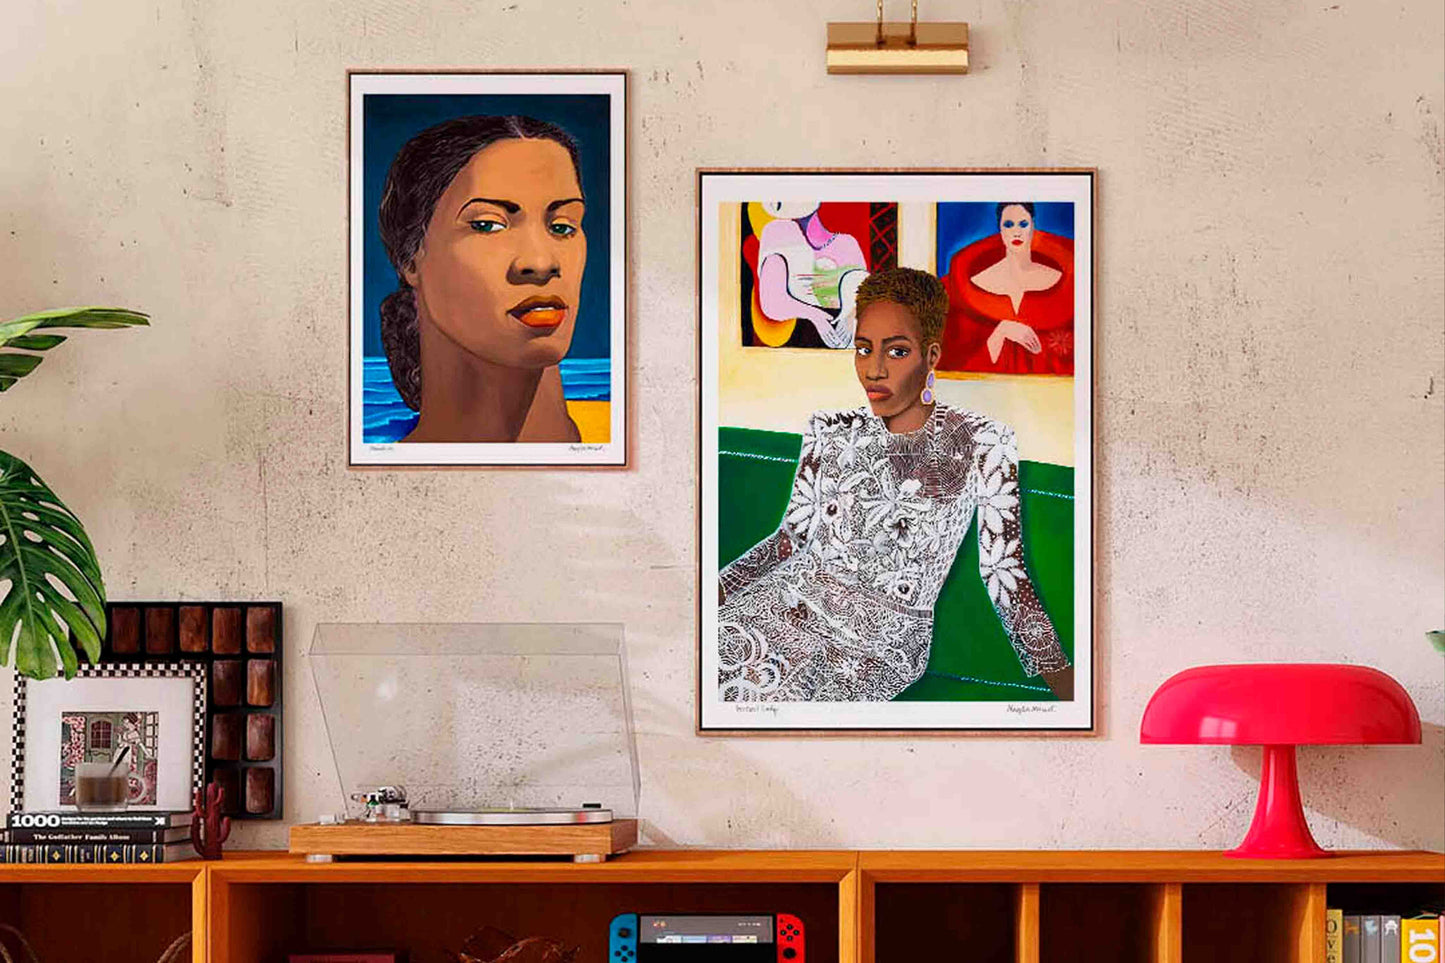
You may have heard that there’s a formula for how high to place a picture. And it’s true, there is. The accepted standard height for artwork states that the centre of your picture should be between 57” and 60” from the floor, a height that’s generally considered average eye-level.
While it’s common sense that displaying pictures at eye-level is a safe starting point, this picture height formula needs to be approached with some flexibility. For example, you might need to take into consideration other artworks already on the wall, an unusually low ceiling, or furniture if you’re thinking about, say, placing a picture above a sofa.
If this is the case then don’t worry – follow your instincts and hang the art where you feel it fits best. You can use the 57-inch rule as a rough guide and then adjust your art to take into account the furniture and objects already in the room. When making the final decision, be confident and trust your eye.
Hanging art above furniture
Be careful when displaying art above a sofa. Make sure you leave enough room so that you don’t hit your head against the art when you sit down. As a general rule, leave 6” to 10” inches of space between the top of your sofa and the bottom of your picture.
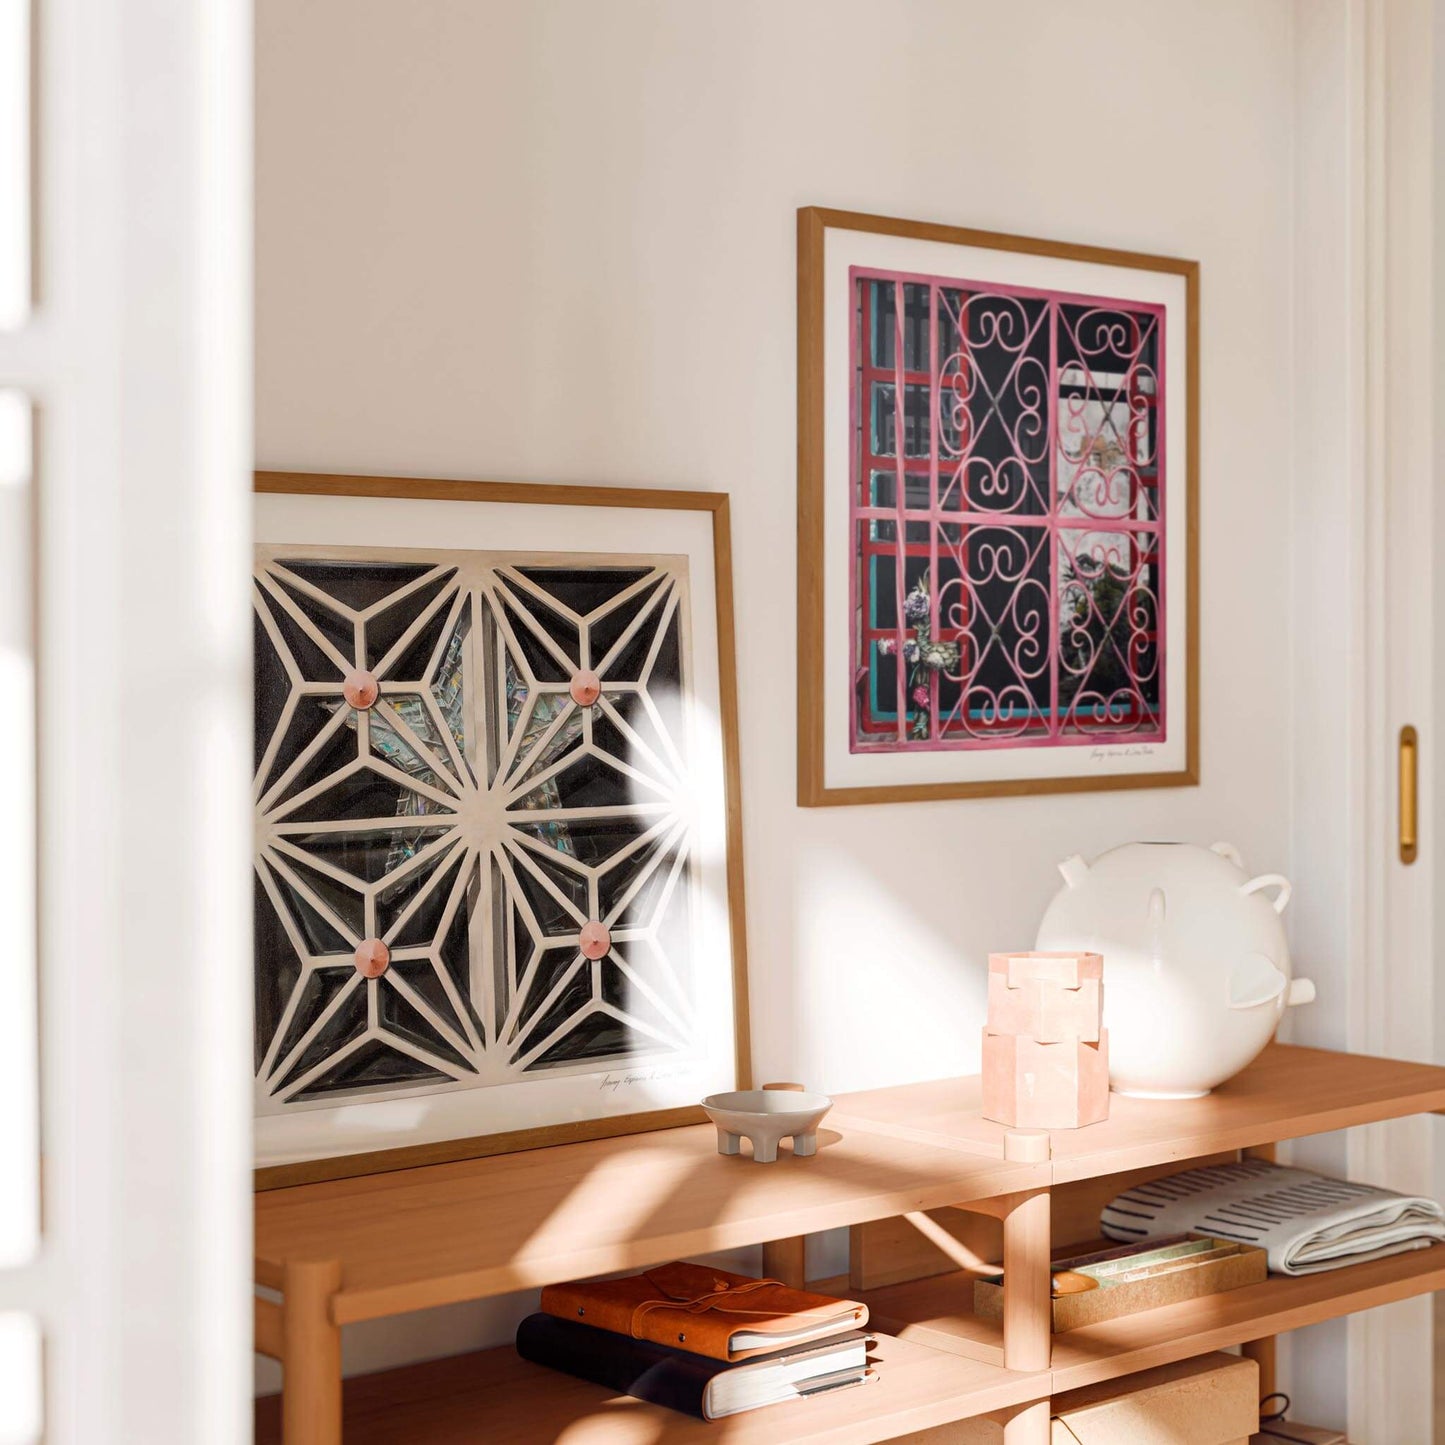
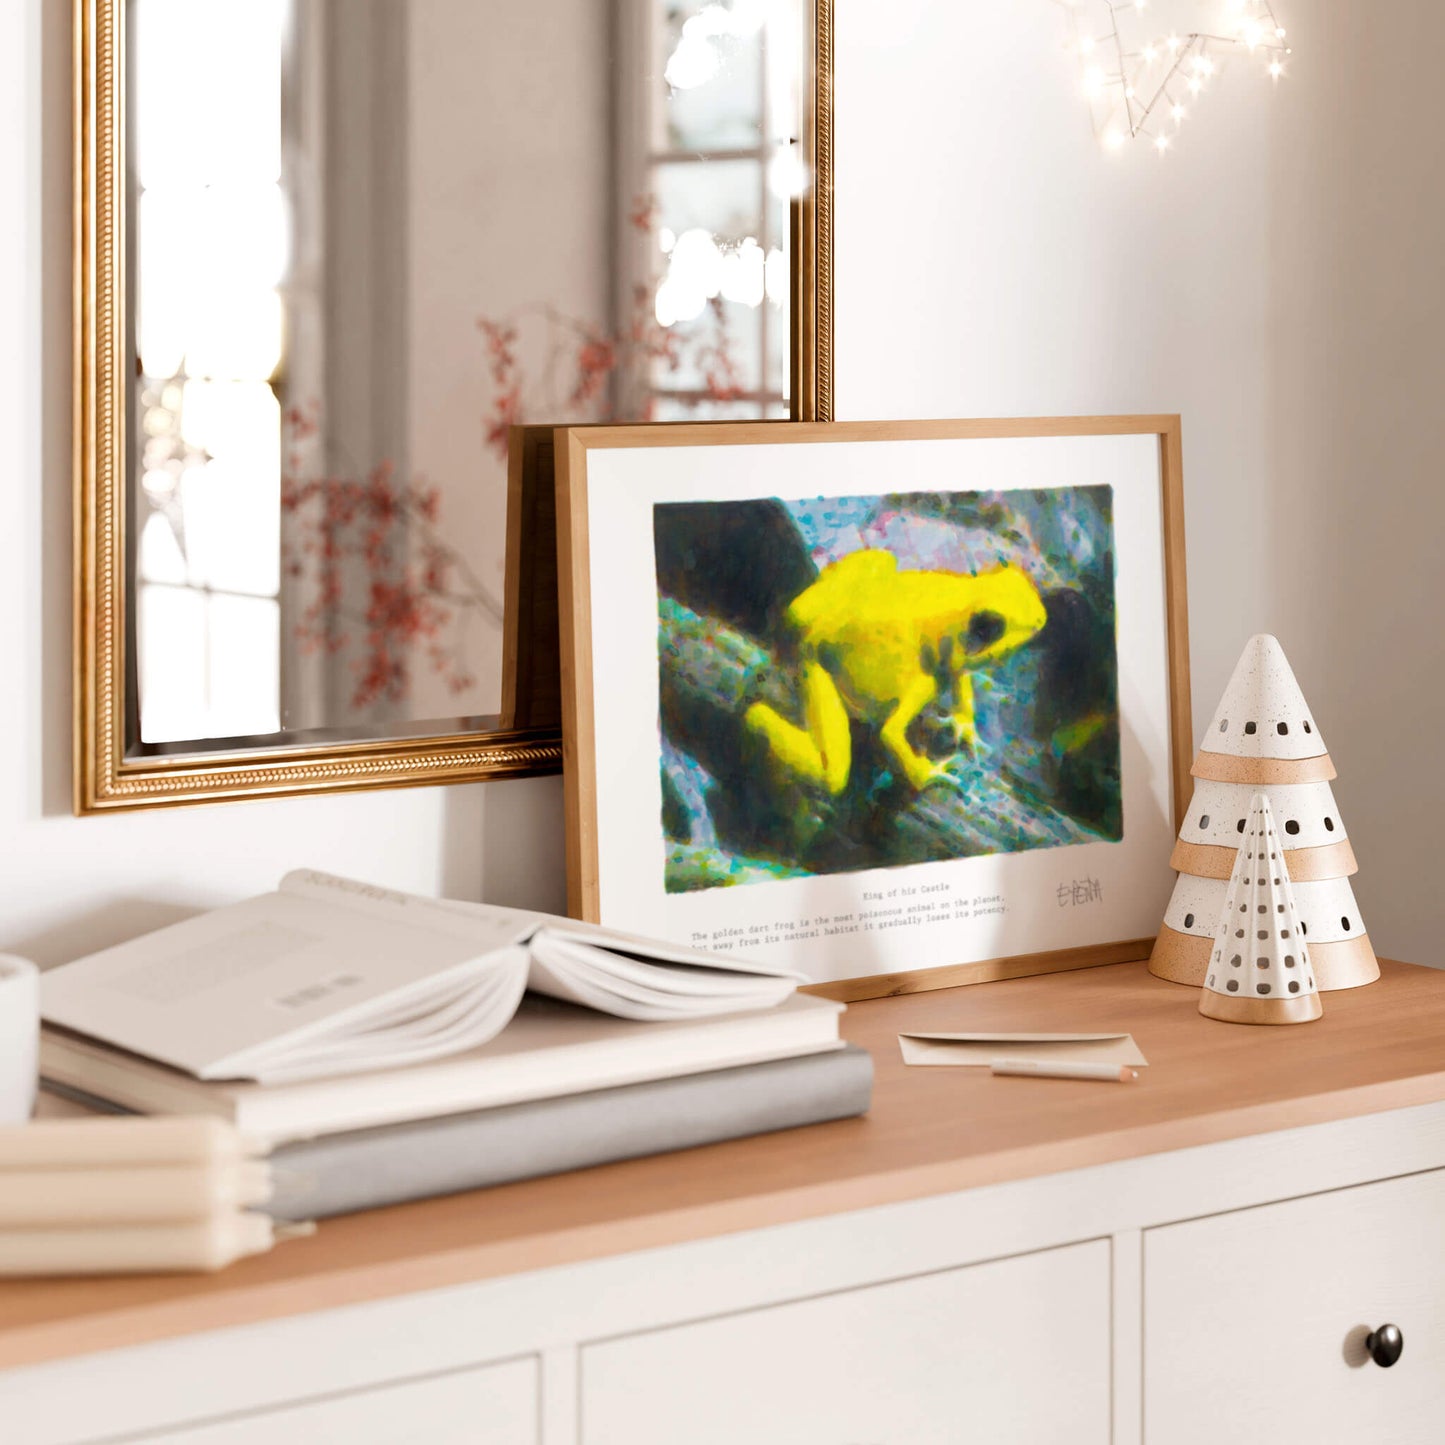
When hanging art above furniture, such as a sideboard or chest of drawers, leave approximately 8” of space between the top of the furniture and the bottom of the frame. Any less space and your art and furniture risk looking cramped and awkward. Any more space will leave your art looking detached from the furniture and your wall looking visually disjointed. Your art and your furniture should look as if they’re related to one another and part of a cohesive design unit for your wall.
Hanging a gallery wall
For those of you wanting to curate a gallery wall, we strongly advise that you lay your pictures out on the floor before you begin. Start by positioning your largest artwork first and then place the rest around it; play with a range of gallery wall layouts to see what works best. If you’re unsure where to start, use the internet to research wall art gallery ideas and try out a few of the suggestions that come up before adapting your favourite to your own artworks and interior.
If you’re worried about stepping on your art with this approach, use pieces of paper sized to the measurements of your artworks instead. Either way, laying out your gallery on the floor first, before drilling holes into a wall, can save a lot of mistakes and filler later on.
Remember to treat a gallery wall as one whole work of art in itself – don’t be tempted to put everything up just because you have a lot of art. Stop when it makes sense and when the colours and shapes complement each other well, and your theme is coherent. Make sure your art wall layout also takes into account the shape and size of the wall it’s going on. Lone small artworks will get lost in a vast wall space, while large artworks can make a wall feel cramped and claustrophobic if they’re too big for it.
Need some inspiration? Take a look at our Curated Collections. Each collection brings together prints that look great together as part of a gallery wall or hung throughout the same interior to bring cohesion to your space.
How to arrange pictures on a wall: Dos and Don'ts
DO hire a professional for particularly large and heavy works of art.
DO be aware of the environmental conditions of a room. Kitchens and bathrooms aren’t usually the best places to hang art since they’re warm and humid rooms. If you do hang art in your kitchen, hang it away from an area where it might get splashed – such as near a sink or stove top – and avoid areas where it might be exposed to steam, such as above a kettle.
DO check for cables and pipes before drilling. A wall scanner will help with this.
DO make sure the wall can handle the weight of an artwork. For example, hang heavier pictures on brick walls and lighter pictures on plasterboard.
DON’T hang any work of art in direct sunlight. This is true for all types of art, but is particularly important for works on paper. If your art needs a little extra illumination, then add picture lights to give it a lift.
DON’T neglect to use a spirit level. Most phones have one built in nowadays, so there’s no excuse for guessing whether something is level or not. That said, be aware that your ceiling and walls may not be perfectly straight. Use a spirit level to get a general idea of what’s level then adjust accordingly so that your art and wall look good to the eye.
Hanging art on different types of wall
Now that you have decided where to place your piece of art, you need to know how to hang it. What about big works of art? Or small works of art? Don’t fear! Here’s our guide to hanging pictures properly.
First, you need to know what type of wall you’d like to hang your picture on (plasterboard, brick, tile, etc.), how heavy your picture is and how big it is. This will determine the tools you need and, crucially, answer the question, what type of fixings do I need to securely fix a picture to the wall?
For all wall types, make sure you use a wall scanner to detect pipes and wires before drilling. Also, make sure the head of any screw or nail, or the end of a picture hook, fits into the fixings or picture hanging hardware on the back of your art or picture frame.
Plasterboard
When hanging a picture on a plasterboard wall you’ll need different hardware depending on the weight of the picture.
- Lightweight picture + plasterboard: A simple picture hook, such as a two-pin picture hook, or a nail. Can be hung anywhere on the plasterboard.
- Heavy picture + plasterboard: A hollow wall anchor or self-drill screw inserted through the studs behind the plasterboard. Can only be hung where there are studs or noggins.
What’s a noggin? How do I locate a stud?
Studs are divided into vertical wooden beams (studs) and horizontal wooden beams (noggins). Just as with pipes and wires, these can be located using a stud detector or wall scanner.
Brick
If you’re trying to hang a picture on a brick wall then you may be relieved to know that bare brick is well-suited to adhesive strips. These strips work perfectly with lighter frames and canvas prints, and can usually hold artworks of up to 7kg in weight. Do check the packet before you try adhesive strips as different brands and different sized strips support different weights.
If you’re looking to display a heavy picture on a brick wall, then you’ll need to use a wall plug and screw for maximum support.
Tiled or glass
If you’re hoping to hang art on a tiled or glass wall then opt for adhesive strips to avoid damaging tiles or glass when drilling. Be sure to clean the area where you’re going to place the adhesive strips first as this will help them stick more securely.
How to hang a picture without nails
Use picture hanging strips
Adhesive strips use a pressure-sensitive adhesive to stick to the back of your frame and your wall, in addition to a strong Velcro-like surface designed to fix the strip on the frame to the strip on the wall. They can simply be pulled from the frame and the wall when you’re finished with them, without leaving a mark or causing damage. Just be sure to pull downwards and not away from the wall when lifting them off to prevent any paint coming away.
Make sure you follow the instructions on the packet for adhesive strips. Most strips require you to clean surfaces before attaching and to wait an hour before hanging the picture in place.
Lean your artworks
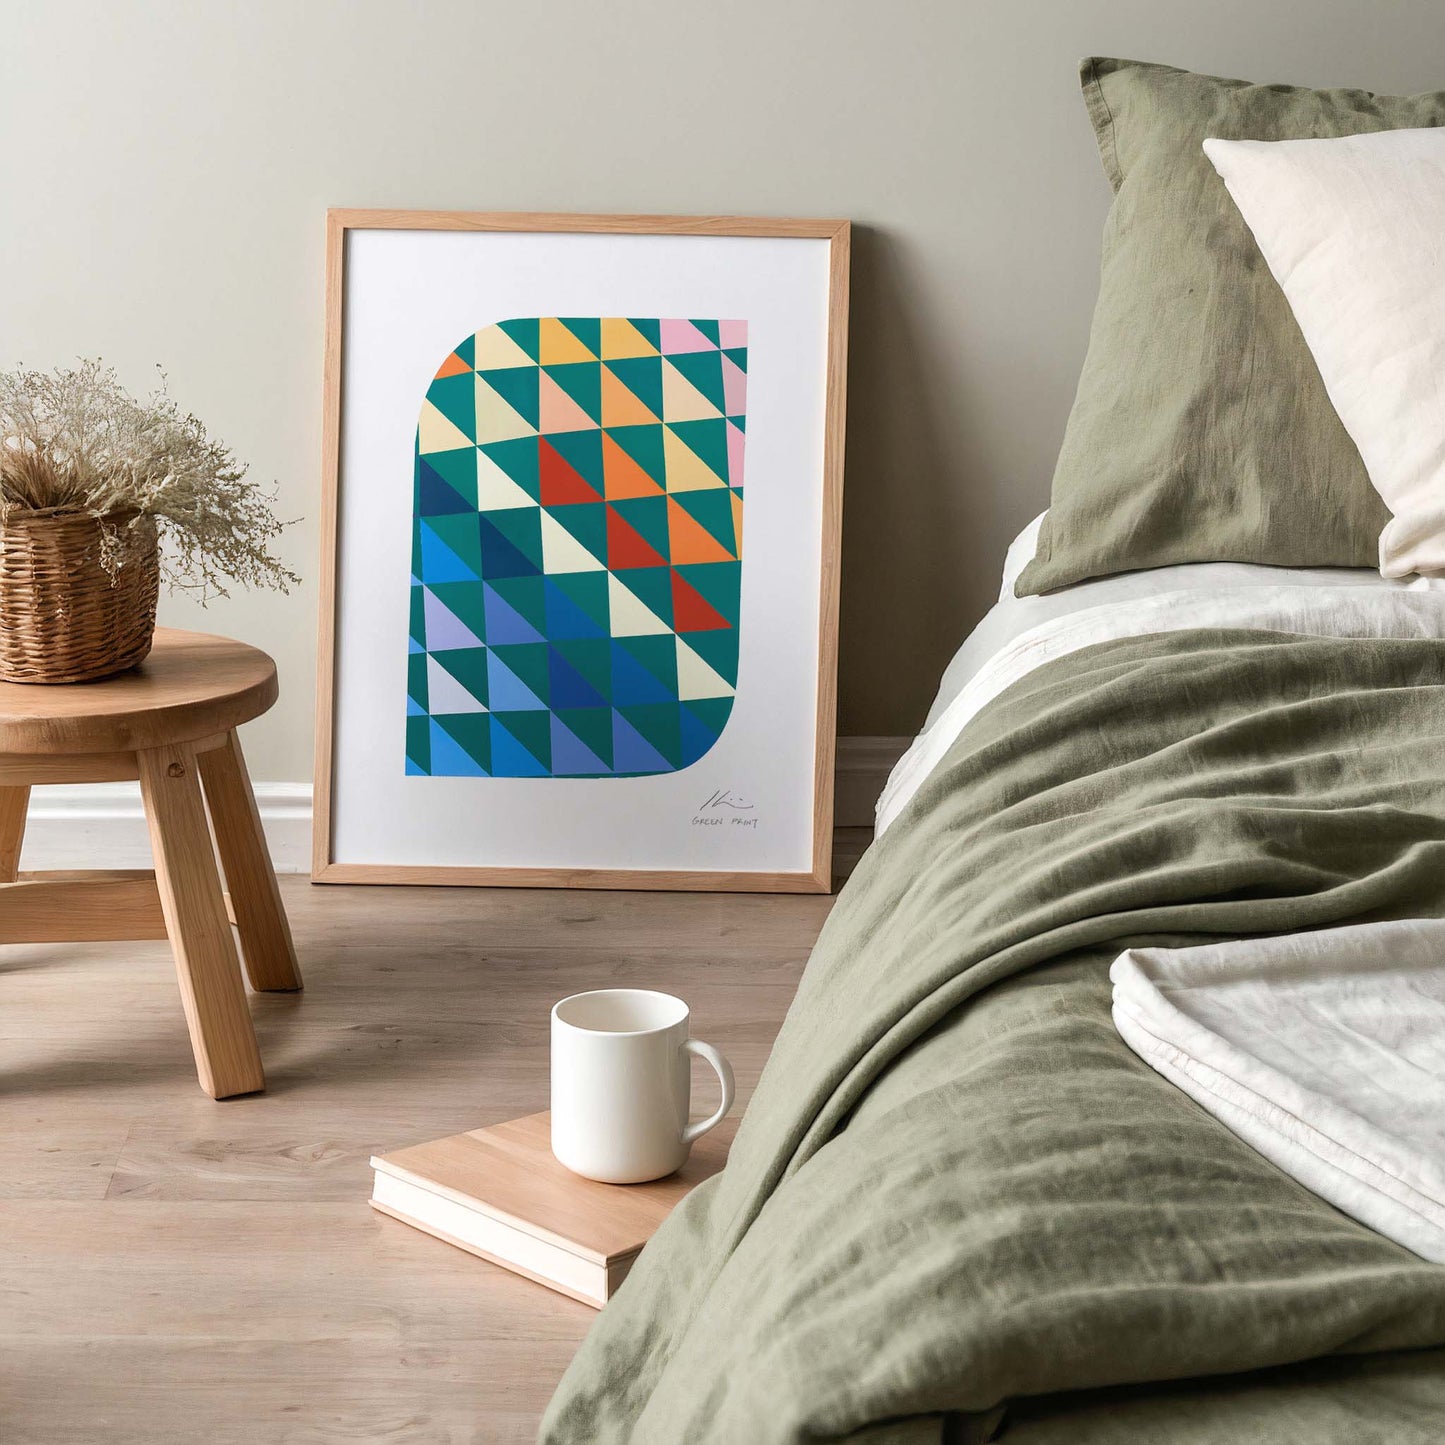
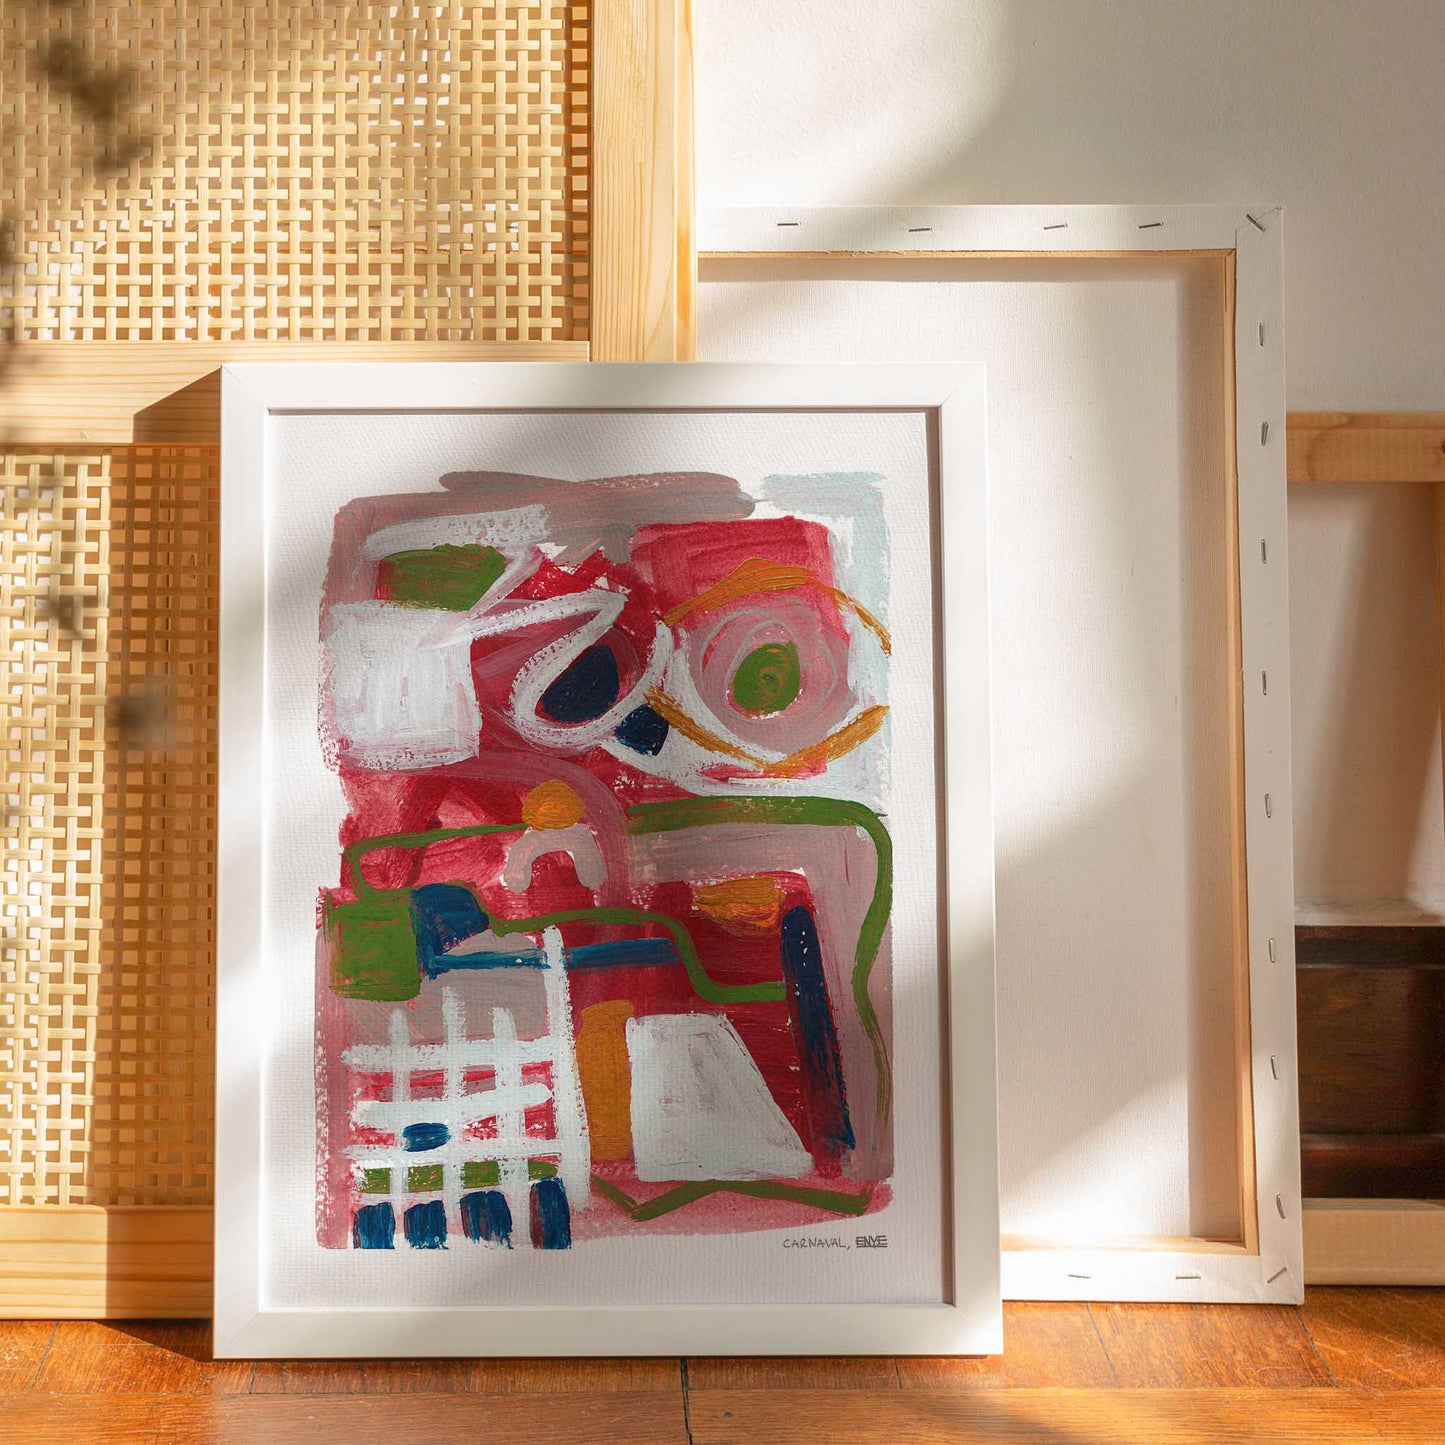
The simplest way to display art is by leaning pictures against a wall or against the back of a chair or other piece of furniture. This brings a casual but intentional look to your art display, especially if you’re keen to avoid a formal-looking interior.
Use a picture shelf
For those of you who frequently rearrange and refresh your art, investing in a shallow picture shelf is a good option. You’ll then be able to restyle your art collection and interiors without worrying about opening new holes and plugging old ones.
Opt for a picture rail
Picture rails are great for adding a more formal look to your art collection without needing to open holes in the wall. What’s more, a lot of nineteenth and early-twentieth-century homes come with them already installed. So, look up before you hang your art to see if half the work has been done for you already.
A type of moulding that runs around the room, you’ll find picture rails about a foot below the ceiling or under the coving (crown moulding). If you don’t have any in your home yet, don’t worry. Picture rails are still widely available and you can buy either a traditional picture rail moulding or a modern picture rail with a more discreet design to it. Try searching for invisible picture hanging systems or ‘clip rail’ and ‘click rail’ hanging systems for a minimalist look.
To hang your art from a picture rail you’ll need a good length of picture wire and picture rail hooks that fit your moulding.
A little extra…
That’s really all there is to it! You’re now ready to get out there and start hanging pictures in your home. But before you go, we’ve decided to share with you our top three tips for hanging art. If you have any more, let us know! We’re always eager to learn and we’d be happy to expand the list. Simply drop us an email to hello@studioparga.com
3 top tips for hanging pictures
- Tape a carrier bag to the wall with masking tape, just below where you’re going to drill your hole. The bag will catch the dust that falls when you drill, keeping your home nice and clean.
- Mark out the positions of your pictures with post-it notes instead of making pencil markings on the wall. This will prevent unsightly lines and smudges of pencil from peeking out from behind your art once it's up on the wall.
- If you use picture wire or string, place a small blob of Blu-Tack behind one of the bottom corners of the frame after hanging and stick your art to the wall. This will fix its position and stop the picture from moving over time and, ultimately, looking crooked.

